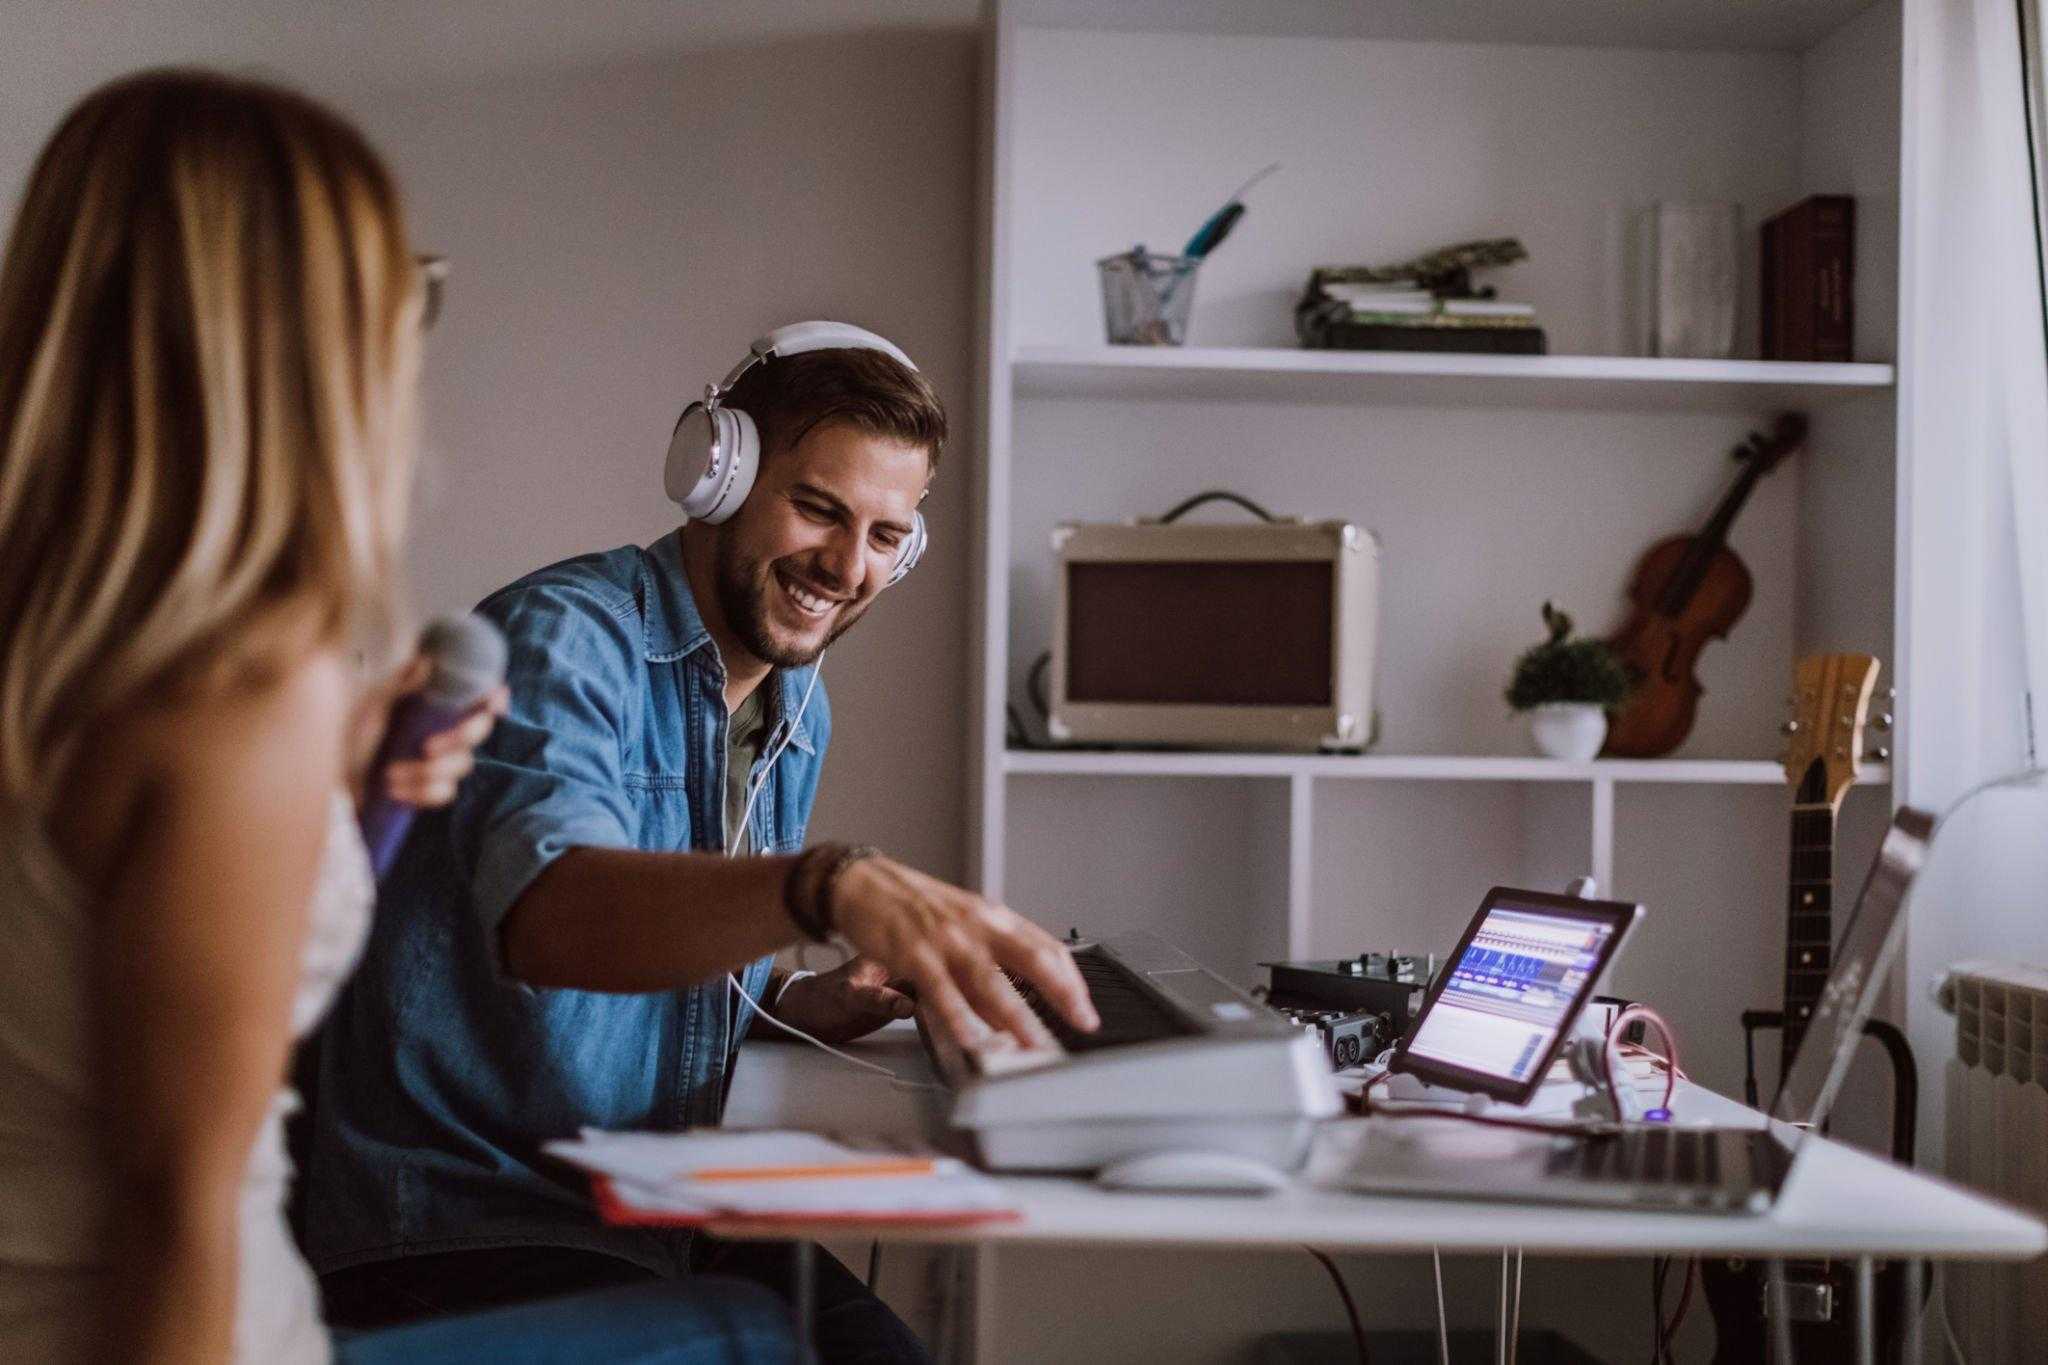
Creating a home recording studio is a dream shared by many aspiring musicians and producers. The ability to craft your music, record vocals, and mix tracks in the comfort of your own space has never been more accessible. But where do you begin, and how do you set up a home recording studio that suits your needs and budget? In this comprehensive guide, we’ll take you through the step-by-step process of building your dream Home Recording Studio.
Step 1: Define Your Budget and Space

The first step in setting up your home recording studio is to define your budget and identify a suitable space. Your budget will determine the equipment you can afford, so it’s crucial to establish it early on. Consider how much you’re willing to invest in your studio, including the cost of essential equipment and any potential soundproofing or acoustic treatment needs.
Next, choose a dedicated space for your studio. This could be a spare room, a corner of your bedroom, or even a well-organized closet. Ensure that the space is free from excessive noise and can be adapted for your recording needs. If necessary, invest in acoustic treatment to improve the sound quality within your chosen space.
Step 2: Essential Equipment for Your Home Studio

Now that you’ve set your budget and secured a space, it’s time to acquire the essential equipment for your home studio. Here are the key components you’ll need:
- Microphones: A good quality microphone is the heart of your recording setup. Consider a versatile condenser microphone like the Audio Technica AT2020 for clear and crisp sound.
- Audio Interface: An audio interface is the bridge between your instruments and your computer. Options like the Focusrite Scarlett 2i2 offer excellent sound quality and ease of use.
- Headphones: Closed-back studio headphones like the Audio Technica ATH-M50x provide accurate monitoring and isolate external noise.
- Studio Monitors: Invest in a pair of studio monitors such as the Yamaha HS5 for accurate sound representation.
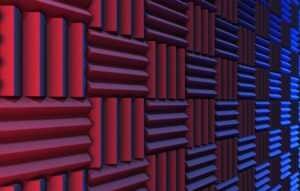
- Acoustic Treatment: Enhance your studio’s acoustics with foam panels, bass traps, and diffusers to control sound reflections and reduce unwanted reverb.
- Recording Software: Choose digital audio workstation (DAW) software like Ableton Live or FL Studio for recording, editing, and mixing your music.
Step 3: Studio Setup and Acoustic Treatment

With your equipment in hand, it’s time to set up your studio. Place your studio monitors at ear level on sturdy stands to ensure an accurate listening experience. Position your microphone for optimal recording and invest in a pop filter and shock mount to reduce unwanted noise.
Acoustic treatment is vital for achieving professional sound quality. Install foam panels and bass traps strategically to control sound reflections and create a clean, echo-free recording environment.
Step 4: Cable Management and Ergonomics

Keep your studio organized with cable organizers and clips to prevent tangled cables. Invest in an ergonomic chair and desk to maintain comfort during long recording or mixing sessions. Proper ergonomics will help you stay focused and productive.
Step 5: Recording and Producing Music

Now that your home recording studio is set up, it’s time to unleash your creativity. Learn how to use your recording software to capture your music and experiment with different sounds. Record, edit, mix, and produce your music, and remember that practice makes perfect. Don’t be afraid to experiment and learn as you go.
Conclusion:
Setting up a home recording studio is a rewarding journey that allows you to create and produce music on your terms. By following this step-by-step guide, you can build a studio that suits your budget and creative aspirations. Embrace the process, keep learning, and let your music flow within the confines of your very own home recording studio. Happy recording!

